What Causes Orange Peel? How To Prevent and Fix It

August 19, 2025

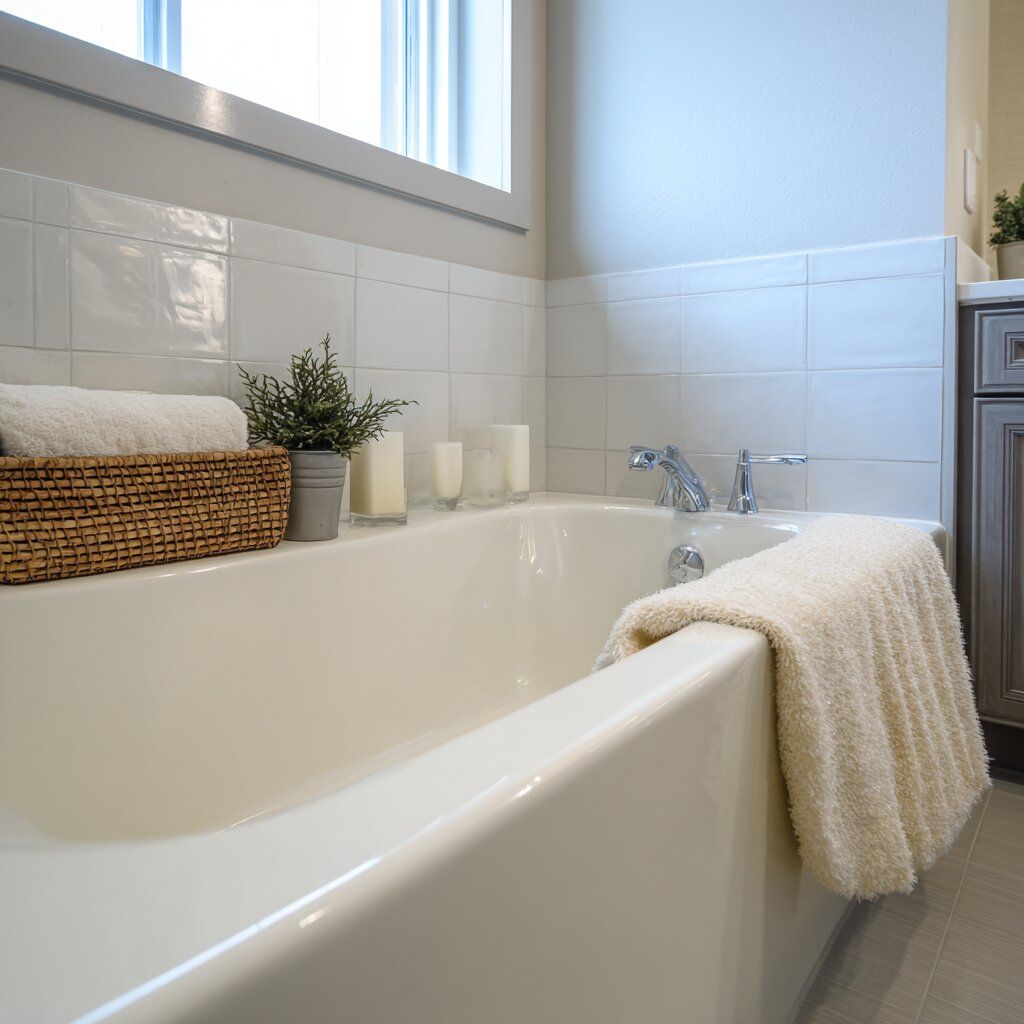
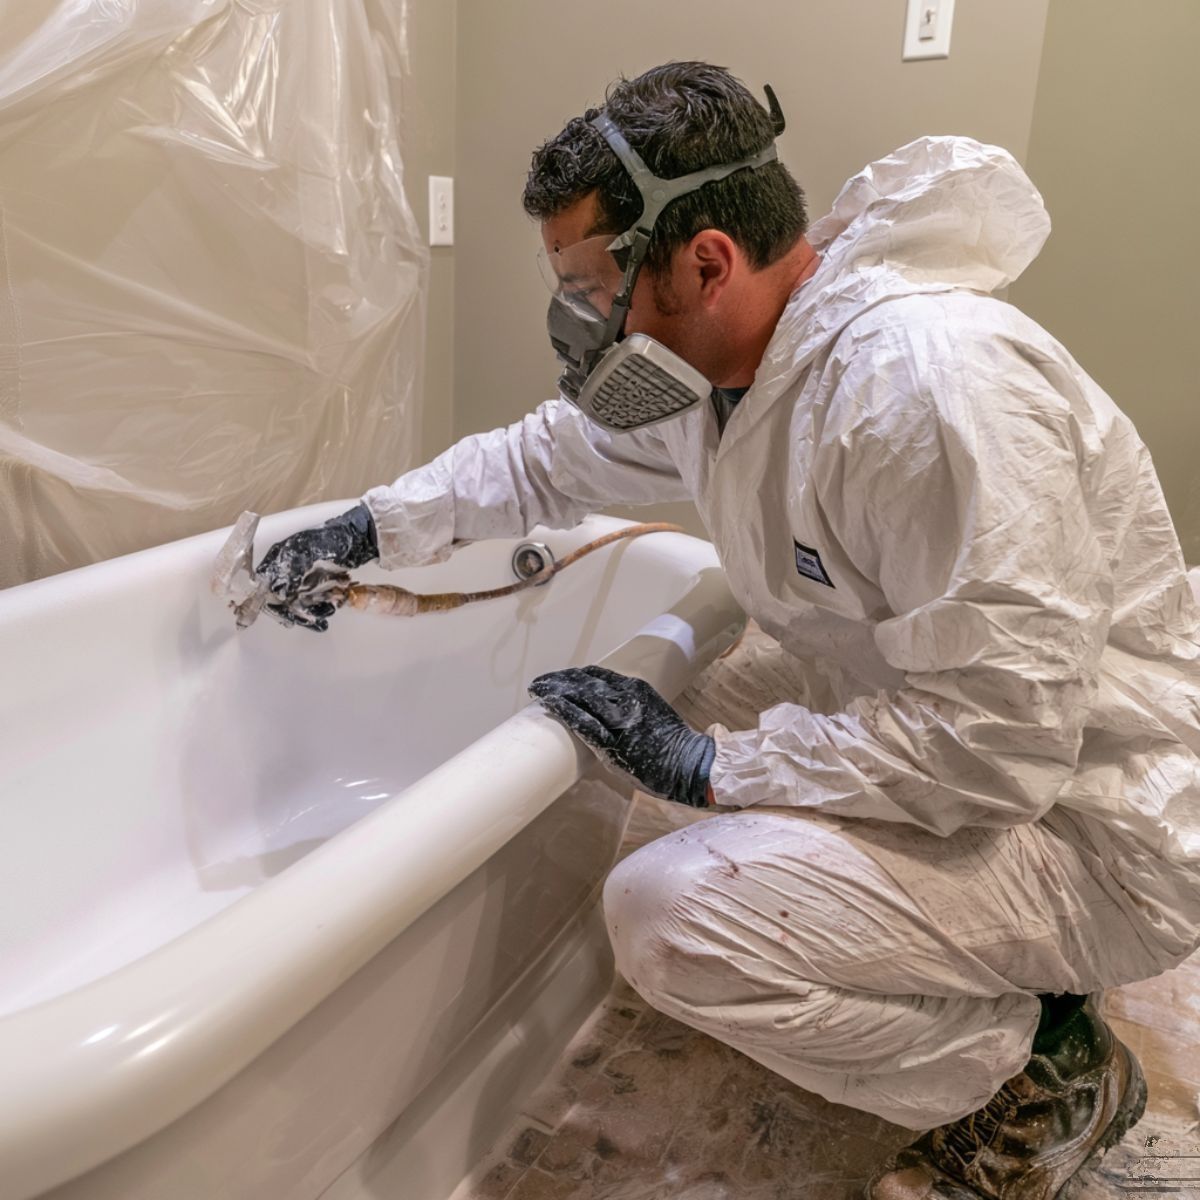
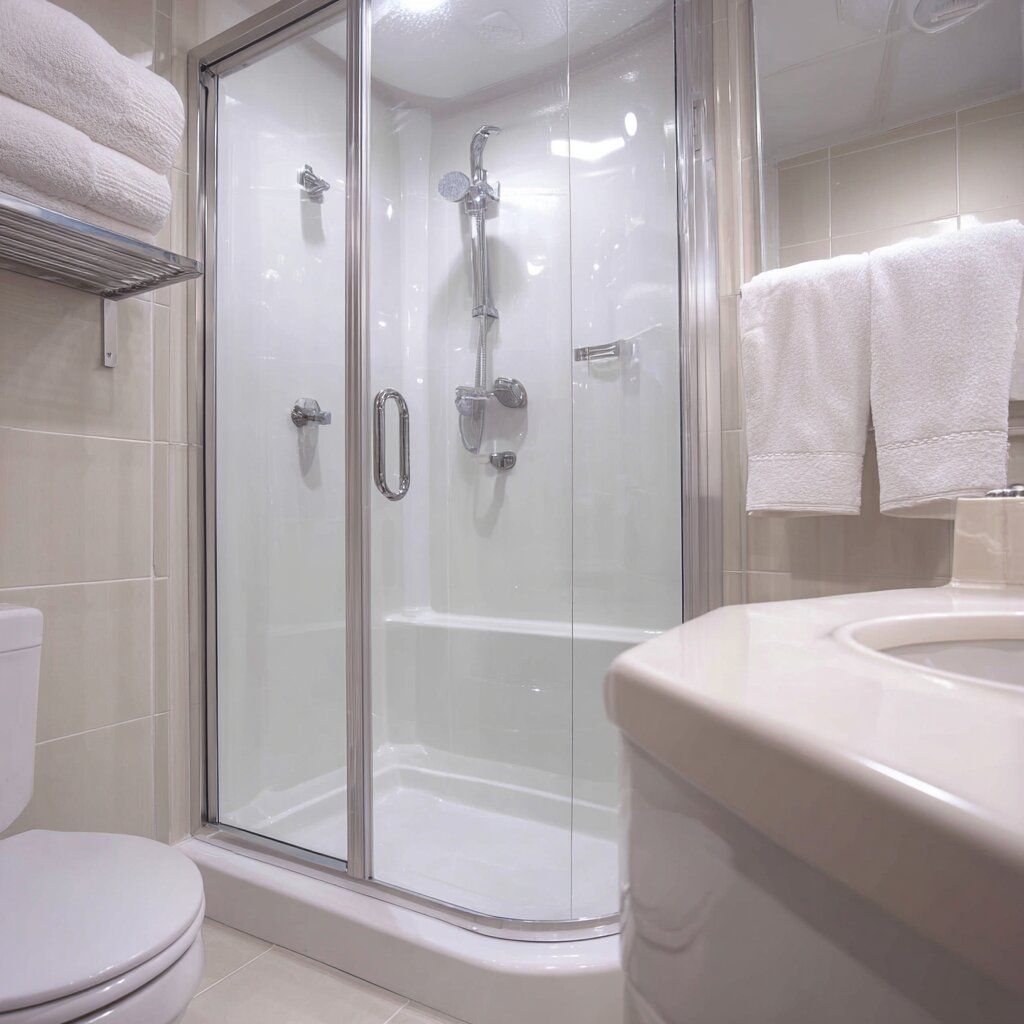
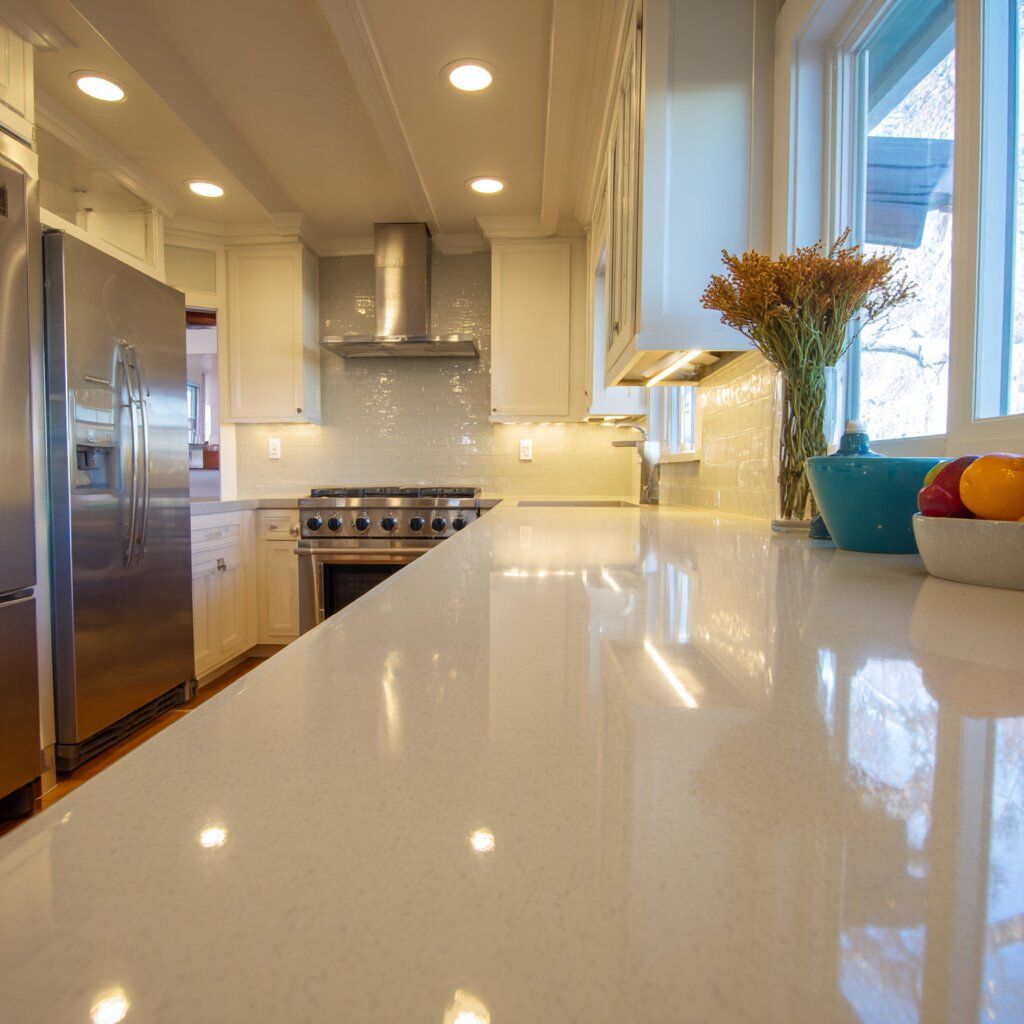
Orange peel in bathtub, tile, shower, countertop, and cabinet refinishing happens when a coating dries before it can self-level, leaving a textured surface that resembles citrus skin. It’s caused by improper spray technique, incorrect viscosity, or temperature and airflow issues. To prevent it, maintain balanced gun pressure, proper spray distance, clean surfaces, and use high-quality primers like Prime-X or WTR-Prime for smooth, factory-level results.


Few coating defects frustrate professional refinishers more than orange peel—that unwanted textured look that breaks up what should be a smooth, glossy surface. Whether you’re refinishing a bathtub, tile wall, shower surround, countertop, or cabinet, orange peel can instantly downgrade the quality of your finish and the confidence of your client.


This guide will help you understand what causes orange peel, how to prevent it during application, and the best ways to fix it when it occurs—all based on professional field experience from Zen-Tek Coatings’ refinishing network.

Key Takeaways

  • Orange peel is a common texture defect in bathtub, tile, shower, countertop, and cabinet refinishing caused by poor atomization or premature drying.
  • Maintaining proper spray distance, air pressure, and viscosity ensures smooth, self-leveling coatings.
  • Room temperature, humidity, and airflow play major roles in how evenly a coating flows out.
  • Use professional-grade primers like Prime-X or WTR-Prime to promote adhesion and leveling.
  • If orange peel occurs, it can often be corrected through light wet sanding, polishing, or controlled recoating.

Understanding Orange Peel in Bathroom and Kitchen Refinishing

In professional refinishing, orange peel refers to a surface that dries with a dimpled or uneven texture resembling the skin of an orange. It’s especially visible under bright light and is most common on bathtubs, tile walls, showers, sinks, countertops, and cabinet doors where the coating needs to flow out smoothly.


The cause? This would be called dry spray. The sprayed coating droplets are larger and less atomized before hitting the surface. Creating an unlevel surface. This can happen because of improper gun setup, incorrect viscosity, environmental conditions, or operator technique.

Common Causes of Orange Peel

1. Equipment Setup Issues

  • Low air pressure leads to poor atomization, causing large droplets that won’t flow together.
  • Wrong tip size can cause too much or too little material output.
  • Inconsistent fan pattern results in uneven film thickness.

2. Material and Reducer Problems

  • Using the wrong reducer or thinner can make the coating flash too quickly or stay too heavy.
  • Over-thick coatings or incorrect mix ratios prevent proper flow.
  • Old or poorly mixed materials can contain settled solids that change viscosity and film behavior.

3. Environmental Factors

  • Temperature too high or airflow too strong causes rapid solvent evaporation.
  • Low humidity speeds up flashing before leveling occurs.
  • Direct air from fans or blowers can disturb the coating surface.

4. Technique Errors

  • Spraying too close overloads the surface, leading to texture or sagging.
  • Spraying too far allows droplets to partially dry mid-air, creating roughness.
  • Moving the gun inconsistently creates uneven wet film buildup.

How To Prevent Orange Peel on Bathtubs, Tile, Showers, and Cabinets

Orange peel prevention comes down to controlled prep, balanced application, and consistent environment.

Step 1: Prepare the Surface Properly

Before spraying, ensure the surface is clean, smooth, and ready for adhesion.


  • Remove oils, dust, and silicone residues with denatured alcohol.
  • Sand or scuff glossy areas to create a mechanical bond.
  • Prime with Prime-X tub and tile epoxy paint and primer for best leveling on porcelain, ceramic, or fiberglass.


For laminate cabinets, acrylic showers, or tile walls, use WTR-Prime water based refinishing primer to ensure adhesion while reducing VOC exposure.

Step 2: Check Your Coating Viscosity

Thin only as recommended. A coating that’s too thick can hold texture, while one that’s over-reduced may sag or lose gloss. Always mix thoroughly and strain before spraying.

Step 3: Optimize Spray Gun Settings

  • Set your HVLP gun pressure between 25–35 PSI depending on the coating.
  • Maintain 6–8 inches of distance and a 50% overlap.
  • Test your fan pattern on masking paper before hitting the surface.

Step 4: Control Your Environment

Maintain booth or room temperature around 70 °F with steady but indirect airflow. Avoid aiming fans directly at wet surfaces—use cross-draft or filtered exhaust ventilation instead.

Step 5: Apply the Coating Evenly

Keep your gun speed consistent. On vertical surfaces like tile or cabinet faces, spray in medium-wet passes and allow proper flash time between coats (typically 5–10 minutes).

How To Fix Orange Peel After Application

Even under controlled conditions, orange peel can still occur. Fortunately, it’s fixable.

Wet Sanding and Buffing

  1. Allow full cure (typically 24 hours depending on product).
  2. Wet sand with 1000–1500-grit paper until the surface feels smooth.
  3. If the coating is glossy, follow with a fine polishing compound to restore the sheen.

Spot Recoating

If texture remains visible after sanding, lightly scuff the surface, clean thoroughly, and apply a thin, well-atomized recoat. This often corrects deep orange peel without full removal.

When orange peel covers a large area—like an entire tub or countertop—strip down to the primer, re-level, and reapply using optimized technique and air settings.

Expert Tips From Zen-Tek Field Technicians

  • Warm the material, not the air. Slightly warming your coating (not exceeding manufacturer limits) helps it flow out better.
  • Spray vertically when possible. On cabinets or shower panels, vertical positioning minimizes dust settling.
  • Use clean, filtered air supply. Moisture or oil in the airline can affect atomization and film leveling.
  • Avoid over-reduction. Too much solvent can create slow cure, dullness, or uneven gloss.
  • Check gun maintenance. Dirty needles or nozzles cause inconsistent atomization leading to orange peel.

FAQs: Orange Peel in Professional Refinishing

What causes orange peel when spraying topcoat?

Usually poor atomization, incorrect viscosity, or fast drying. The coating doesn’t have time to level before it sets.

How do I prevent orange peel when refinishing tubs, tile, or cabinets?

Control gun pressure, distance, and overlap. Keep temperature stable and use compatible primers like Prime-X or WTR-Prime for even leveling.

Is orange peel caused by spraying too close or too far from the surface?

Both. Too close causes heavy build-up; too far causes dry spray. Stay within 6–8 inches and maintain a steady pass speed.

Can orange peel happen from using the wrong reducer or thinner?

Yes. Using a fast reducer in a warm environment can make the surface flash too quickly.

What air pressure should I use to avoid orange peel with HVLP?

Most HVLP units spray at 7-9 PSI. Higher pressures are most likely airless units. Adjust based on gun type and viscosity.

Does orange peel come from too much or too little material being applied?

Either can cause it—too much material creates larger droplets; too little creates smaller droplets.

Can old or improperly mixed coating products cause orange peel?

Absolutely. Settled solids or expired catalyst reduce flow and leveling.

Will temperature or humidity affect orange peel during application?

Yes. High temperature and low humidity accelerate solvent evaporation and cause orange peel.

How do I fix orange peel after it happens—can I sand and recoat?

Yes. Wet sand smooth with 1000–1500 grit and recoat once the surface is clean and dry. Or you can buff and polish if there is ample material on the surface.

What grit sandpaper should I use to knock down orange peel?

Use 1000–1500 grit wet sandpaper for leveling, then polish if needed.

Can I buff out orange peel on a cured surface or do I need to respray?

You can buff light texture. Severe orange peel usually requires sanding and recoating.

Does orange peel affect the durability of the coating, or just appearance?

Mostly appearance—but rough texture can trap dirt or moisture over time.

What tip size should I use to reduce orange peel with my spray gun?

Check manufacturer specs; most refinishing topcoats perform best around 1.3–1.5 mm tips for HVLP.

Is orange peel more common with certain coatings (e.g., urethane vs. epoxy)?

Urethanes and fast-drying epoxies can show orange peel if sprayed too thick or too dry.

Should I use a retarder or flow additive to reduce orange peel?

Yes, if conditions are hot or dry. Additives slow evaporation and help the film self-level.

How long should I wait between coats to prevent orange peel?

Allow full flash—typically 5–10 minutes depending on product and temperature.

Does orange peel mean I didn’t clean the surface properly before spraying?

Not necessarily, but contamination can affect wetting and contribute to texture.

Why do I only get orange peel on vertical surfaces like tile walls?

Gravity and airflow can cause uneven film thickness or faster flashing on vertical areas.

Is orange peel acceptable in refinishing, or should it always be corrected?

Professional standards call for smooth, factory-level finishes. Mild texture may be acceptable on hidden areas, but visible surfaces should be corrected.

How can I explain or manage orange peel with customers if it happens?

Be transparent—describe it as a common surface variation and offer a corrective respray if needed to maintain your reputation for quality.

Conclusion

Orange peel can appear in any refinishing job—from bathtubs and tile to cabinets and countertops—but it’s not inevitable. When your equipment is tuned, your environment is balanced, and your coating system is matched to the substrate, your results will look factory-perfect every time.


For consistent adhesion and flow, professionals trust Prime-X and WTR-Prime as the foundation for flawless topcoats across residential and commercial refinishing projects.

fiberglass shower refinishing
July 5, 2026
A complete step-by-step guide for professional refinishers on how to prep, prime, and coat fiberglass bathtubs and showers. Covers cleaning, etching, repair, primer selection, topcoat application, dry times, and troubleshooting for lasting results.
low VOC bath refinishing
June 15, 2026
A professional guide to water-based, low-VOC bath refinishing for healthcare and education facilities. Learn how WTR-Tek, WTR-Prime, and Zen-Tek's anti-microbial additive give contractors access to institutional accounts that conventional coatings can't serve.
masking for bathtub refinishing
May 15, 2026
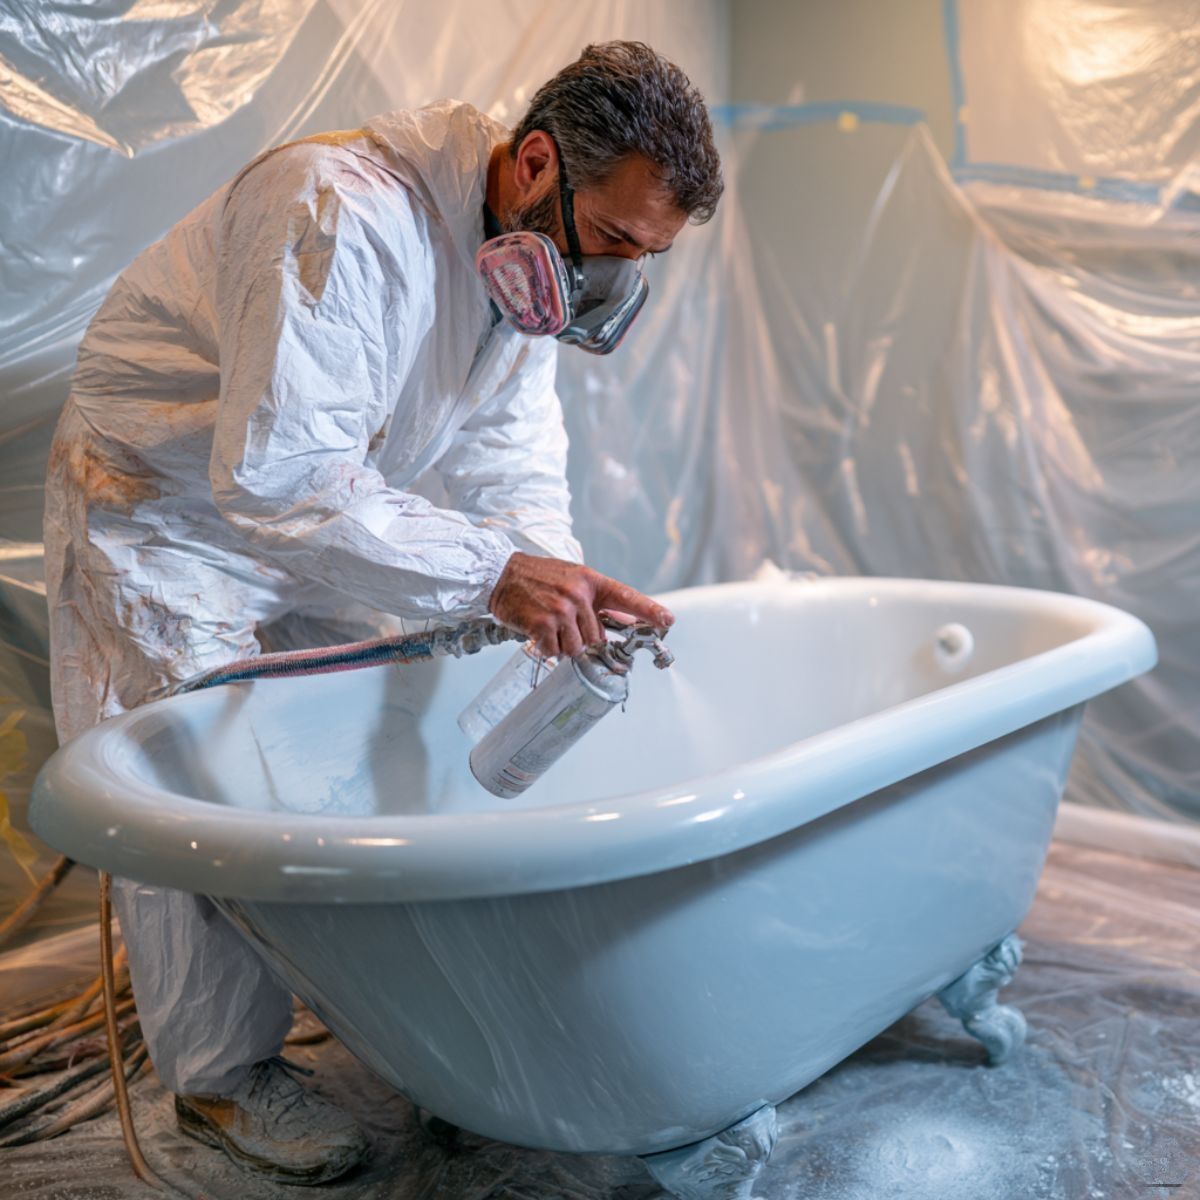
A complete professional guide to masking and overspray prevention for bathroom refinishing contractors. Covers materials, techniques, sequencing, fixture masking, cleanup, and pro tips for tub, tile, shower, countertop, and cabinet refinishing jobs.
 iso-free bathtub refinishing coating
April 15, 2026
Learn what iso-free paint is, how isocyanate-free 2K coatings compare to traditional urethane topcoats, and why professional refinishers are making the switch to safer coating systems for residential and commercial work.
dry spray bathtub refinishing
March 16, 2026
Professional guide to dry spray in surface refinishing: what causes it, how to prevent it, and how to fix it on bathtubs, tile, showers, and cabinets. Expert tips from Zen-Tek Coatings.
refinishing equipment guide
February 17, 2026
Complete equipment guide for professional bathroom and kitchen refinishers. Learn the best spray guns, ventilation systems, tools, and setup tips for refinishing tubs, tile, showers, sinks, countertops, and cabinets.
bathroom refinishing repair techniques
January 15, 2026
Learn professional bathtub and tile chip repair techniques for refinishing contractors. Step-by-step methods for repairing chips, scratches, and surface damage before coating.
acrylic shower refinishing
December 16, 2025
Learn how professional refinishers properly prepare acrylic bathtubs and showers for coating. Sanding methods, primers, cleaners, substrate identification, and troubleshooting tips for adhesion, peeling, and fisheyes.
bathroom refinishing warranty
November 19, 2025
Learn how to structure bathtub, tile, shower, countertop, sink, and cabinet refinishing warranties that attract customers and protect your business. Coverage terms, exclusions, duration, claims, and coating system recommendations for professional refinishers.
commercial tile refinishing process
October 16, 2025
Learn the complete professional process for refinishing ceramic tile using Zen-Tek Coatings. Step-by-step tile prep, priming, spraying, dry-time guidance, troubleshooting tips, and expert FAQs for shower walls, floors, and backsplashes.
Show More